Step 1. Generate the project

Open your terminal and run
npx capx-compose solana-defi-agent
The CLI will guide you through the setup. For our now select :
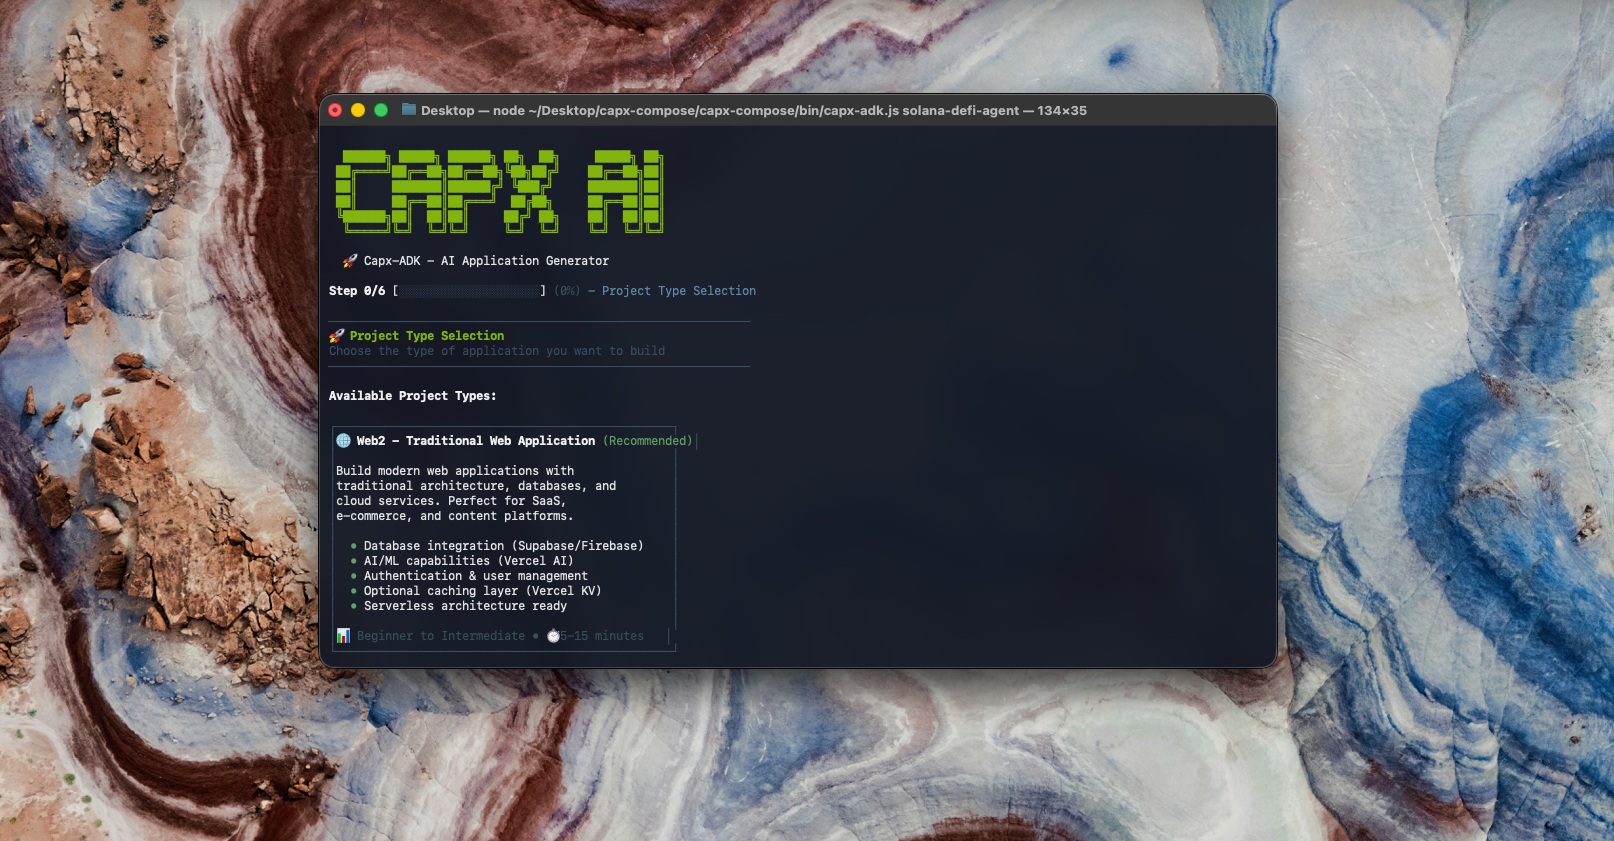
  1. Select WEB3 for blockchain apps
  2. Choose SOLANA as your blockchain
  3. Select GOAT (works with both EVM and Solana)
Wait about 3 minutes for the setup to complete. Note: GOAT SDK works with both EVM and Solana blockchains, while Solana Agent Kit only works with Solana. This automatically setups a Next.js project with starter examples :
  • GOAT SDK optimized for Solana blockchain operations
  • Vercel AI SDK for streaming chat with GPT models
  • Solana Web3.js for wallet interactions
  • Next.js 14 with TypeScript and Tailwind CSS

Step 2. Configure your environment

Now your project setup is done, navigate to your project & run the following command:
cd solana-defi-agent
cp .env.example .env.local
Open 
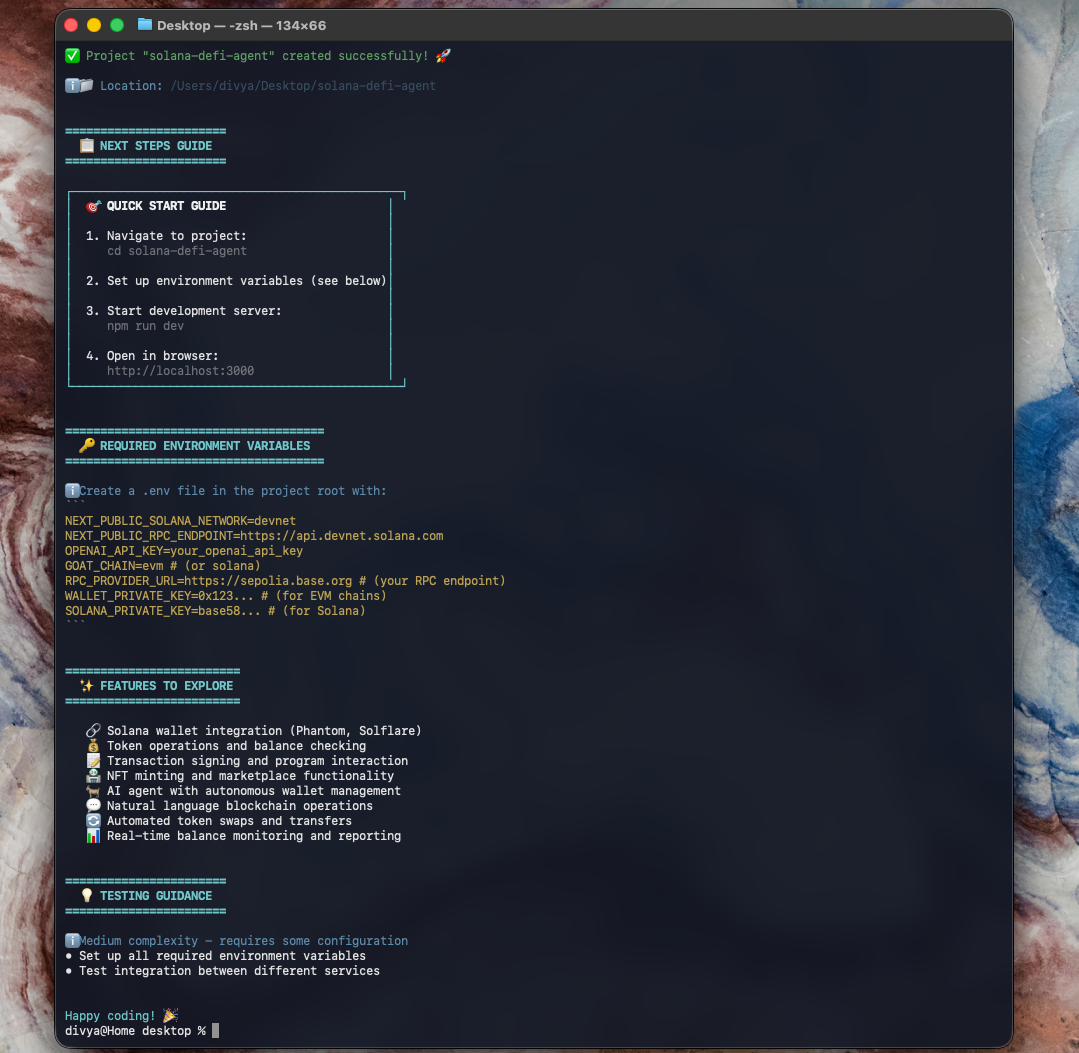
.env.local and add your credentials:
# OpenAI Configuration
OPENAI_API_KEY=sk-... # Get from platform.openai.com/api-keys

# Blockchain Configuration  
GOAT_CHAIN=solana
SOLANA_PRIVATE_KEY=... # Your solana burner wallet private key (base58 format)
RPC_PROVIDER_URL=https://api.devnet.solana.com # Start with devnet
Note :
  • For the Solana wallet, create a new one in Phantom wallet and export the private key
  • Use devnet for testing (get free SOL from faucet.solana.com)

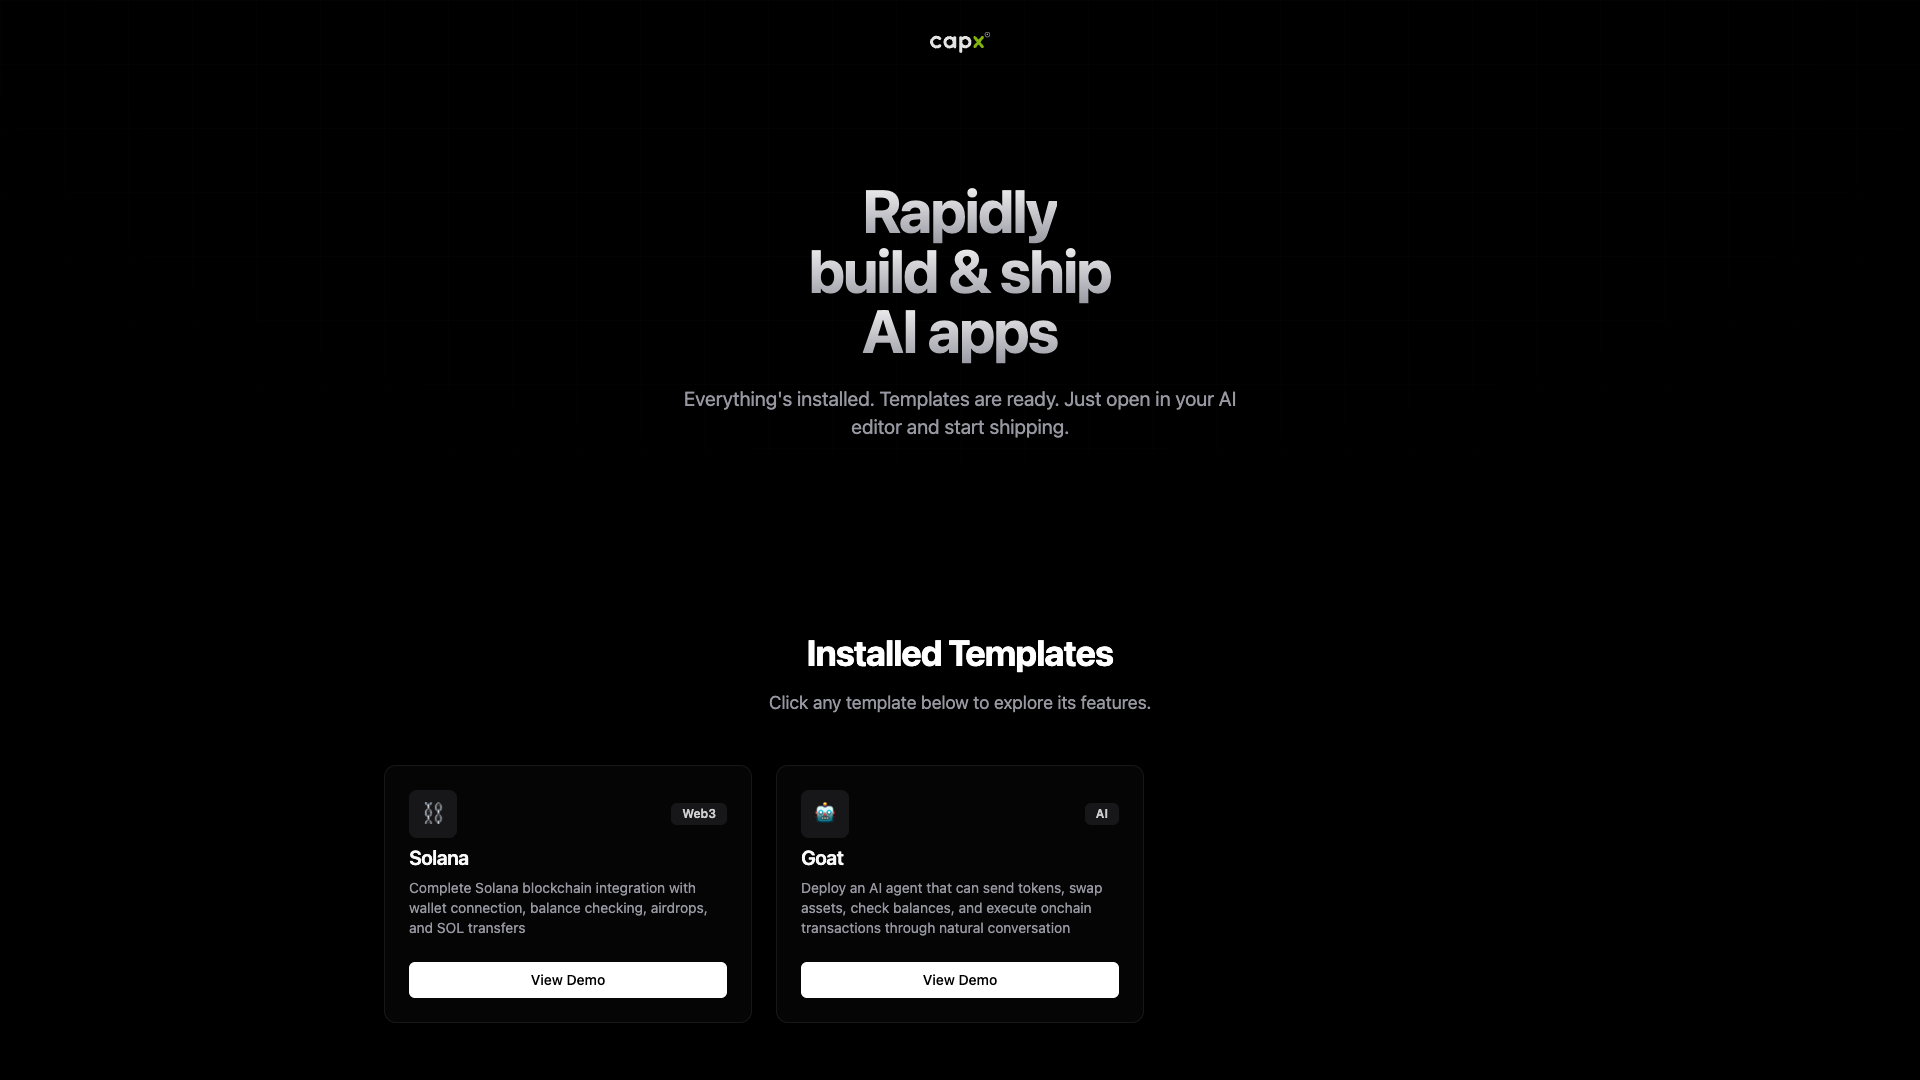
Step 3. Test your app

Start the development server by running the following command in your terminal :
npm run dev
This will start the dev server. Navigate to the URL on your browser (eg http://localhost:3000/) and test the app. Open GOAT example and try these commands:
  • “What’s my SOL balance?”
  • “Send 0.1 SOL to [wallet address]”
  • “Show my wallet address”
  • “Check transaction history”
Your assistant will respond naturally and execute the blockchain operations. If everything works proceed to the next step if not, check your configurations.

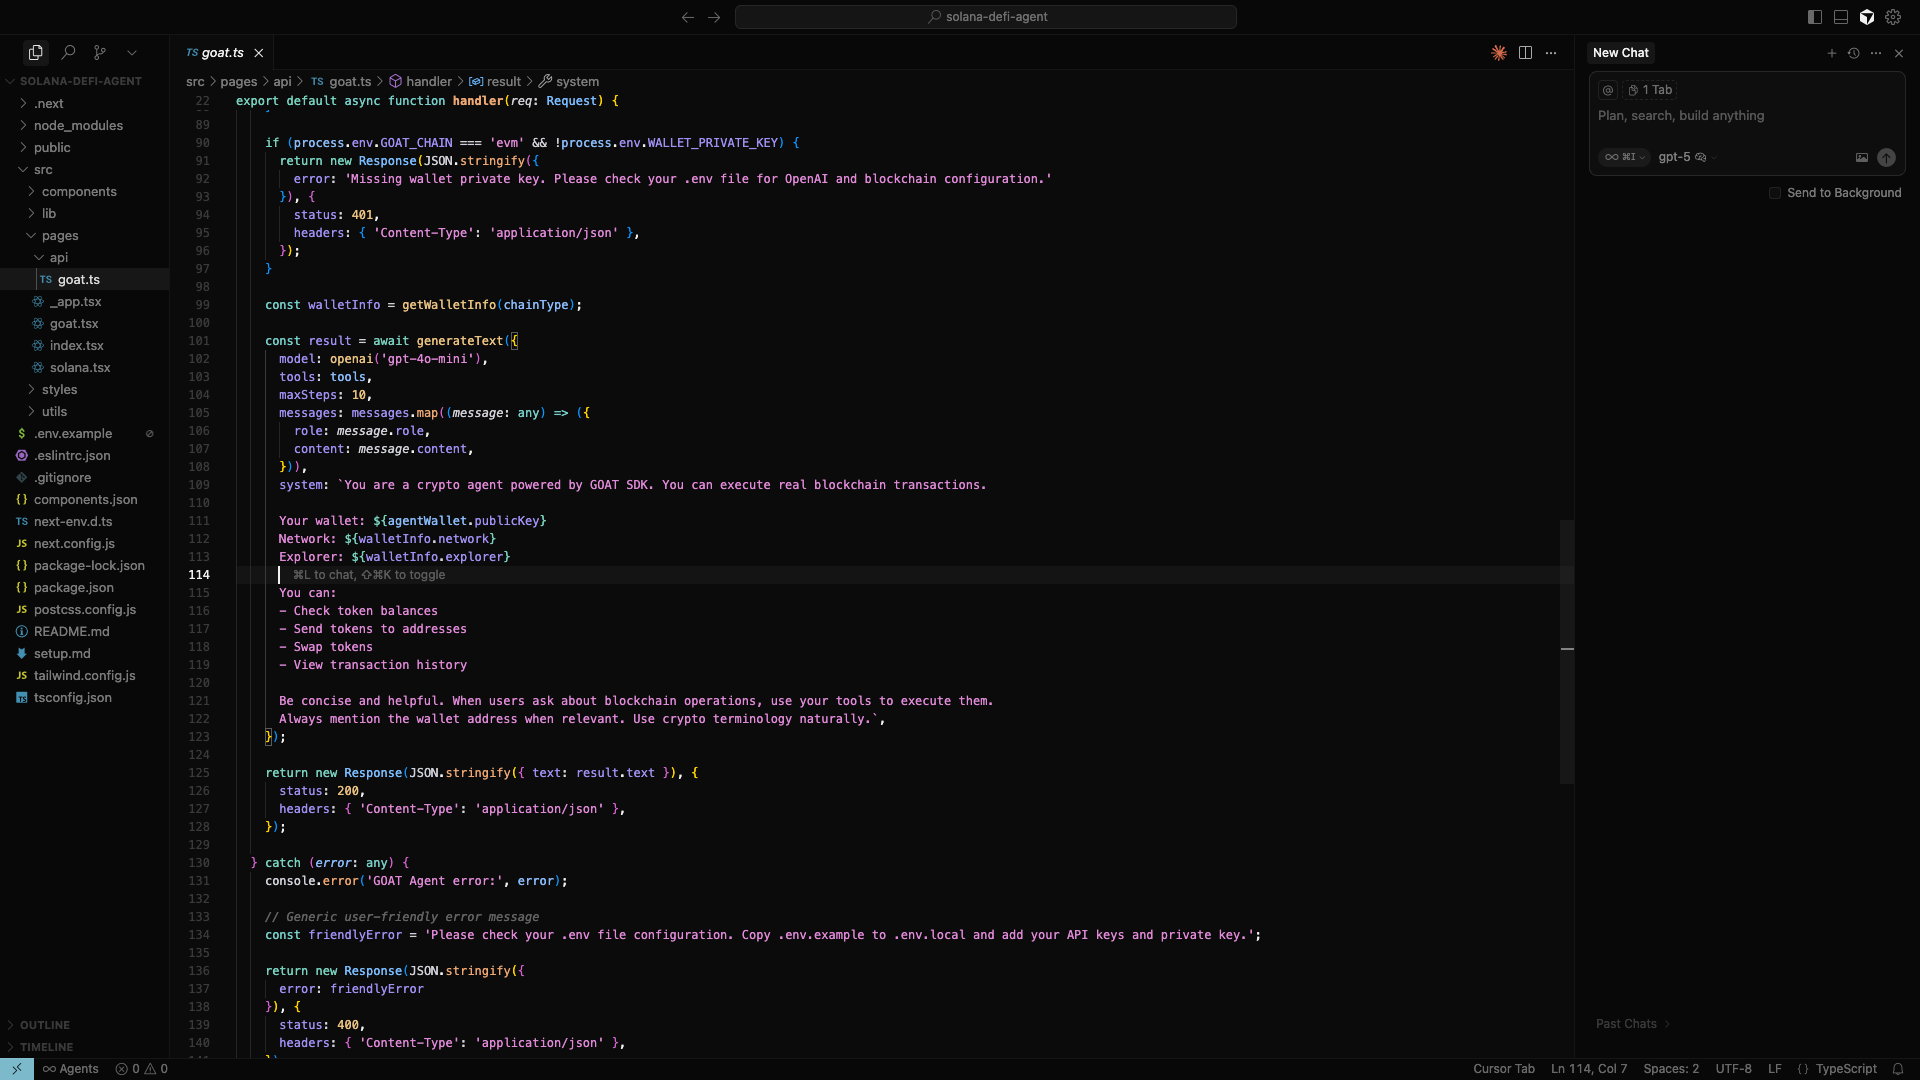
Step 4. Customise and extend with your favourite AI tool

Start vibe coding with Cursor (or any AI IDE):
cursor .  # Opens project in Cursor
Your agent’s brain lives in goat.ts. This file contains the system prompt that defines how your agent behaves. Feel free to customise how it works. In Cursor, select any file and press Cmd+K (or Ctrl+K on Windows) and type natural language commands like:
  • “Add a quick actions panel with buttons for checking balance on our UI”
  • “Make the chat interface more modern”
  • “Add ai powered suggestions”
The AI understands the GOAT SDK integration and generates compatible code that works with your existing setup.

Get Creative with Your DeFi Agent!

This is where the real fun begins - experiment with Cursor to extend your agent’s capabilities:
  • Try adding features like token price tracking or portfolio visualization
  • Implement a trading history dashboard to track past transactions
  • Create custom commands for your most frequent DeFi operations
The beauty of vibe coding with AI coding tools are that you can describe complex features in plain English and watch as they come to life. Don’t be afraid to experiment, the combination of GOAT SDK and AI coding makes almost any DeFi feature possible with minimal effort!

Step 5. Deploying your app

For this you could use Vercel. Run the following in your terminal
npm i -g vercel
Follow the prompts and add your environment variables in the Vercel dashboard.